Your First Facial Gua Sha Massage
From Curiosity to Confidence
Picture this: You’re scrolling through social media and see someone gliding a beautiful stone tool across their face with graceful, purposeful movements. Their skin seems to glow afterward, and they speak about this ancient practice called gua sha with such reverence and familiarity. You find yourself both fascinated and intimidated – drawn to the promise of natural skincare benefits yet uncertain about where to even begin.
If this resonates with you, you’re not alone. The journey from gua sha curiosity to confidence is one that countless wellness enthusiasts have navigated. The beauty of this ancient practice lies not in its complexity, but in its elegant simplicity – once you understand the foundational principles.
Gua sha, which translates to “scraping sha,” represents a time-honored approach to promoting circulation and supporting the body’s natural healing processes. When applied to facial massage, these same principles create a gentle yet effective method for enhancing your skin’s natural radiance while providing a moment of mindful self-care in your daily routine.
What You’ll Gain from This Guide
This comprehensive introduction will transform your relationship with facial gua sha from uncertainty to mastery. You’ll discover how to select the right tools, prepare your skin properly, execute fundamental techniques with confidence, and integrate this practice seamlessly into your existing wellness routine.
More importantly, you’ll develop the understanding and skills needed to make gua sha a sustainable, enjoyable part of your self-care journey – one that enhances not just your skin, but your overall sense of well-being and connection to ancient wellness wisdom.
Understanding Gua Sha: Ancient Wisdom for Modern Wellness
The Foundation of Gua Sha
At its core, gua sha operates on the principle that gentle, intentional pressure and movement can stimulate circulation and promote the natural flow of energy throughout the body. This concept transcends cultural boundaries and appears in various forms across different healing traditions worldwide.
When we apply these principles to facial massage, we’re essentially encouraging our skin’s natural processes – supporting lymphatic drainage, promoting blood flow, and creating a moment of intentional self-care that benefits both our physical appearance and mental well-being.
Why Facial Gua Sha Resonates Today
In our fast-paced modern world, facial gua sha offers something increasingly rare: a practice that simultaneously addresses multiple wellness needs. It serves as both a skincare technique and a mindfulness practice, providing tangible benefits while creating space for presence and self-connection.
The appeal lies in its dual nature – ancient wisdom that feels immediately relevant to contemporary wellness goals. It requires no electricity, produces no waste, and can be practiced anywhere with just a simple tool and a few minutes of focused attention.
Essential Tools and Selection Guide
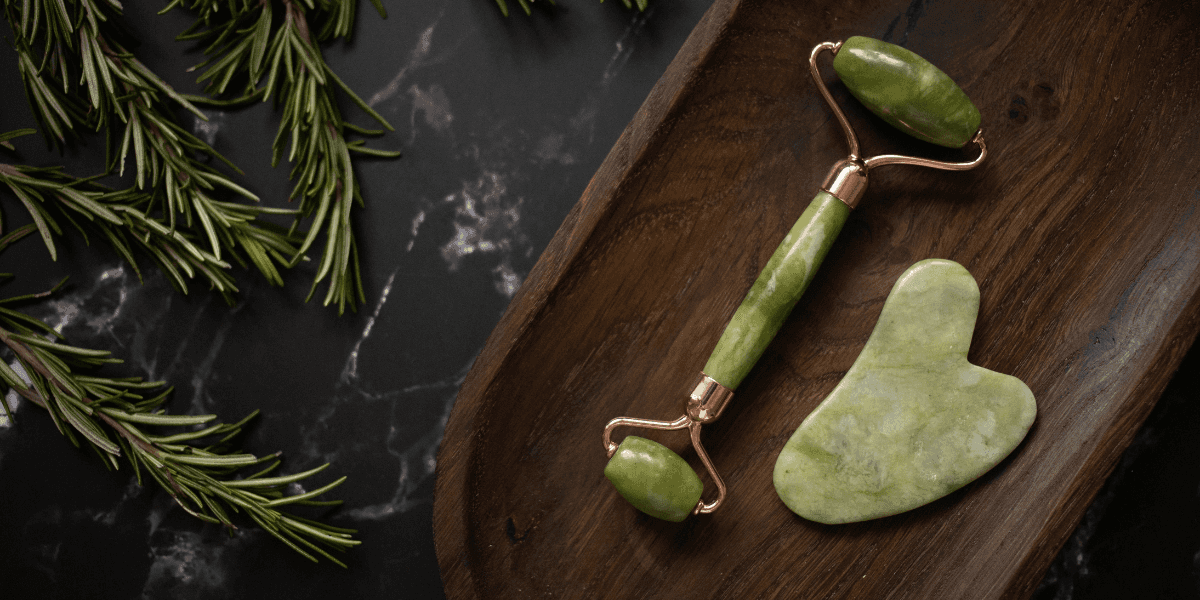
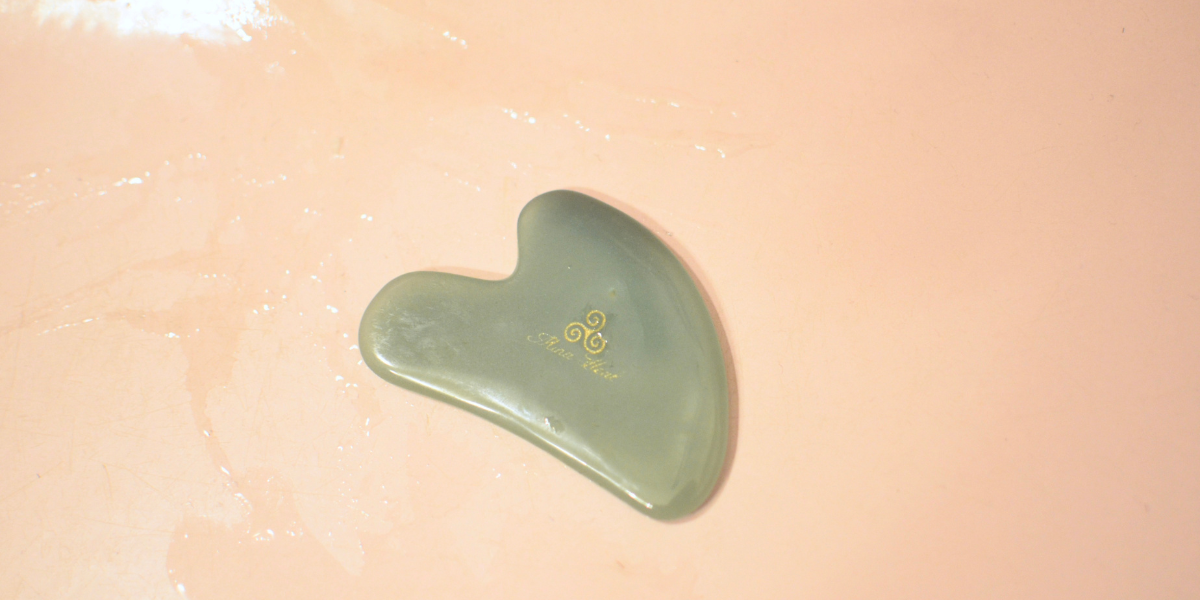
Understanding Gua Sha Tools
The tool you choose becomes an extension of your intention during practice. While various materials are available, the most important factors are the tool’s smoothness, appropriate size for facial work, and how comfortable it feels in your hand.
Tool Selection Checklist
- Smooth surface: No rough patches or sharp edges
- Comfortable weight: Not too heavy for extended use
- Proper size: Fits well in your hand and on your face
- Multiple edges: Curved and straight surfaces for versatility
- Quality construction: Well-made without cracks or flaws
Material Considerations
Different materials offer varying experiences, though the fundamental effectiveness remains consistent across options. Some prefer the cooling sensation of certain stones, while others gravitate toward materials that warm with use. The key is selecting something that feels pleasant and motivating for regular practice.
Consider starting with a single, well-made tool rather than investing in multiple options immediately. As you develop your practice and preferences, you can always expand your collection.
Preparation: Setting the Foundation for Success
Creating Your Practice Space
Imagine transforming your bathroom counter or bedroom into a mini wellness sanctuary. This doesn’t require elaborate setup – simply ensuring you have good lighting, a clean surface, and easy access to the products you’ll need.
The environment you create influences your entire experience. Even small touches like dimming harsh lights or playing soft music can elevate your gua sha practice from routine skincare to meaningful self-care ritual.
Skin Preparation Protocol
📋 Pre-Massage Preparation Steps
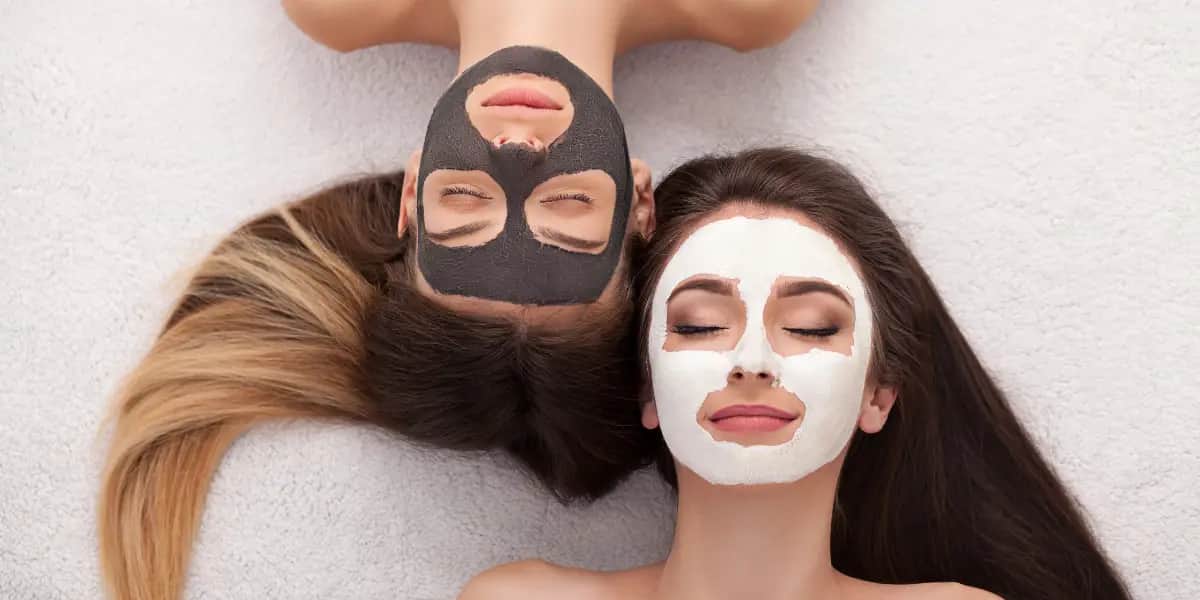
- Cleanse thoroughly: Remove makeup and impurities
- Apply facial oil or serum: Ensure smooth tool gliding
- Warm your tool: Hold briefly or rinse with warm water
- Set your intention: Take three deep breaths and center yourself
- Check tool cleanliness: Ensure your gua sha tool is sanitized
The preparation phase is more than just getting ready – it’s a transition period that signals to your mind and body that you’re entering a space of self-care and attention.
Fundamental Techniques: Your First Movements
The Basic Principles of Movement
Every gua sha stroke follows certain universal principles that ensure both safety and effectiveness. Understanding these foundations before you begin creates confidence and prevents common mistakes that can diminish your experience.
Direction matters: Always move in upward and outward directions, working with your skin’s natural structure rather than against it.
Pressure is gentle: Think of the pressure needed to spread lotion – firm enough to be effective, gentle enough to be comfortable.
Consistency creates results: Regular, shorter sessions are more beneficial than occasional lengthy ones.
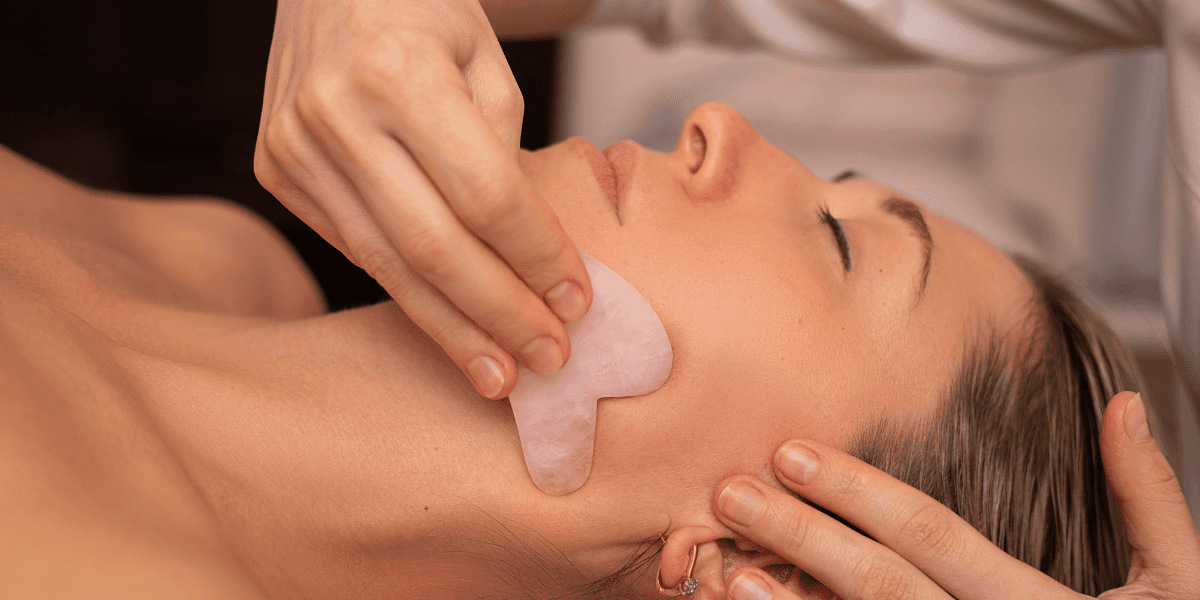
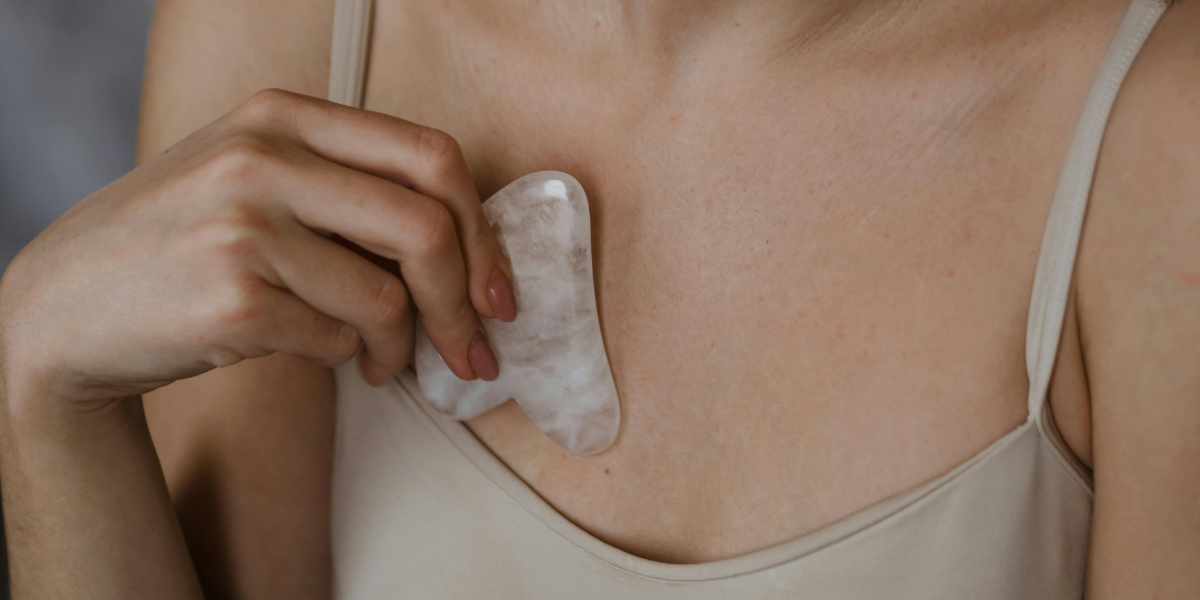
Your First Technique: The Basic Sweep
Begin with the fundamental movement that forms the foundation of all gua sha work. Hold your tool at a 15-degree angle against your skin, and glide it along your jawline from the center of your chin toward your ear. This single movement introduces you to the proper angle, pressure, and direction.
Repeat this stroke 3-5 times on each side, paying attention to how the tool feels against your skin and how your face responds to the gentle stimulation.
Building Your Technique Repertoire
🎯 Progressive Learning Approach
Day 1-2: Master the basic jawline sweep
Day 3-4: Add cheek movements (center to temples)
Day 5-6: Incorporate forehead techniques (center outward)
Day 7: Practice full-face routine with confidence
Complete Beginner’s Routine
The 10-Minute Daily Practice
This routine is designed to be comprehensive yet manageable, providing full facial benefits while fitting easily into your existing schedule. Each section flows naturally into the next, creating a seamless experience that feels more like meditation than skincare.
Section 1: Jawline and Chin (2-3 minutes)
Starting at the center of your chin, use the curved edge of your tool to glide along your jawline toward your ear. This movement may help define the jaw while supporting lymphatic drainage in an area that often holds tension.
Section 2: Cheeks and Mid-Face (3-4 minutes)
From the corners of your mouth, sweep upward and outward toward your temples. This area responds beautifully to gua sha and may show improvement in circulation and natural radiance with regular practice.
Section 3: Eye Area (2 minutes)
Using the smallest curved edge, gently work from the inner corner of your eye along the brow bone, then under the eye from inner to outer corner. This delicate area requires the lightest touch but often provides the most noticeable results.
Section 4: Forehead and Temples (2-3 minutes)
Beginning at the center of your forehead, sweep outward toward your temples. Include gentle circular motions at the temples to release tension and promote relaxation.
Post-Massage Integration
The moments immediately following your gua sha practice are crucial for maximizing benefits and creating lasting positive associations with the experience. This is when you might apply your favorite serum or moisturizer, which may help your skin absorb these products more readily.
Common Mistakes and How to Avoid Them
The Pressure Trap
Perhaps the most common mistake beginners make is applying too much pressure, thinking that more force equals better results. In reality, effective gua sha requires surprisingly gentle pressure – just enough to create slight stimulation without causing discomfort or redness.
If you notice significant redness or soreness after your practice, you’re likely using too much pressure. Adjust by imagining you’re spreading a delicate cream across your skin rather than trying to create deep tissue massage effects.
Direction Confusion
Another frequent error involves working against the natural flow of lymphatic drainage by moving in random directions. Always remember: up and out. This simple principle keeps you aligned with your body’s natural processes.
⚠️ Red Flags to Watch For
- Significant redness that lasts more than 30 minutes
- Pain or discomfort during or after practice
- Feeling rushed or stressed during the routine
- Skipping the facial oil or inadequate lubrication
- Using a cracked or damaged tool
Consistency Challenges
Many beginners start with enthusiasm but struggle to maintain regular practice. The key lies in starting small and building gradually rather than attempting lengthy sessions from the beginning.
Integration into Your Wellness Routine
Finding Your Rhythm
The most successful gua sha practitioners don’t necessarily do it perfectly – they do it consistently. Consider when you’re most likely to have 10 uninterrupted minutes and what time of day would make this practice feel most natural and sustainable.
Morning practice can energize and prepare your skin for the day ahead, while evening sessions often feel more relaxing and meditative. There’s no universally “right” time – only what works best for your lifestyle and preferences.
Complementary Practices
Gua sha integrates beautifully with other wellness practices you may already enjoy. It pairs naturally with meditation, breathwork, or even your regular skincare routine, enhancing rather than complicating your existing self-care habits.
Consider how this practice might serve multiple purposes in your life – stress relief, skincare, mindfulness practice, or simply a few minutes of dedicated self-attention in your busy day.
Measuring Your Progress
What to Notice
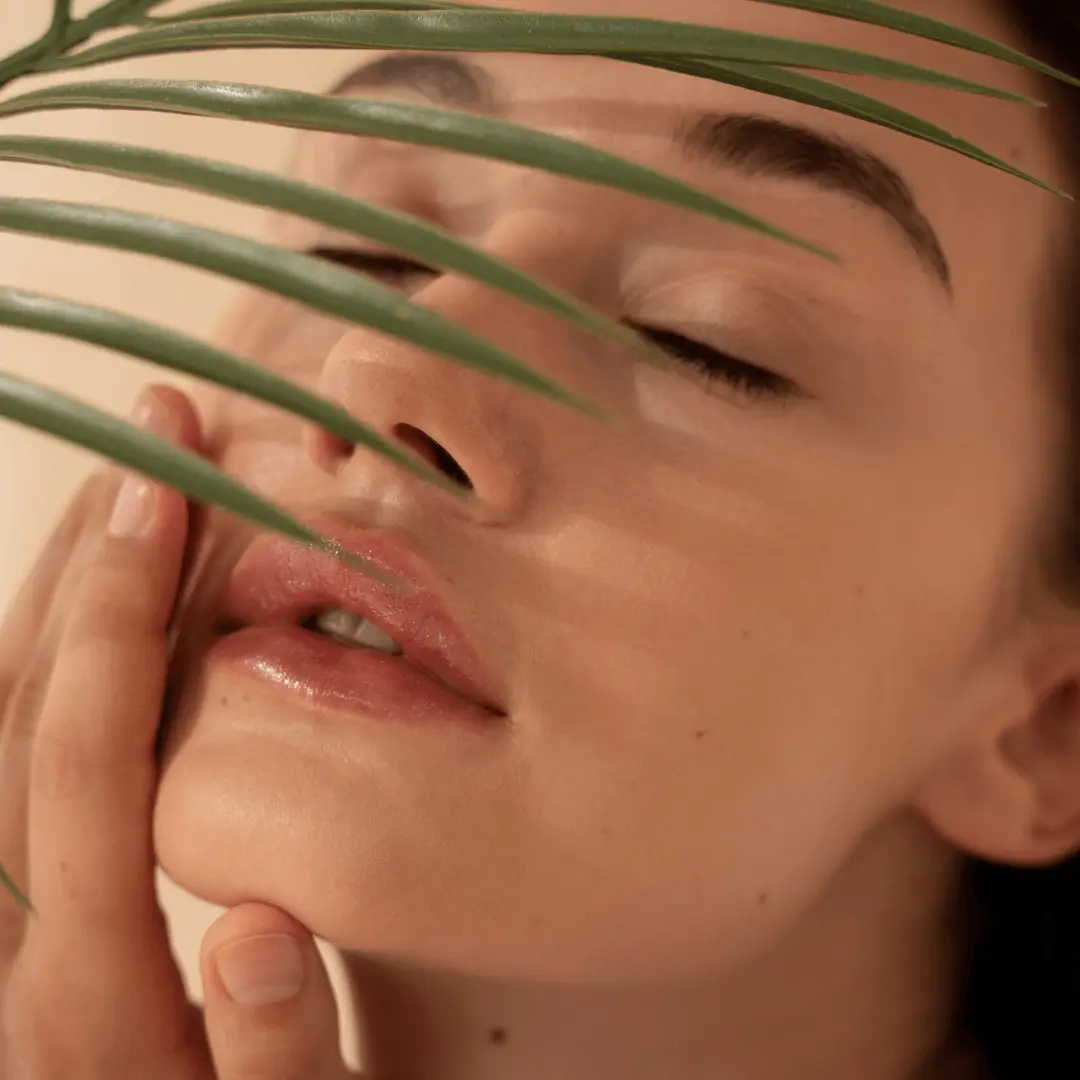
Progress in gua sha manifests in various ways, some immediate and others gradual. You might notice your skin feeling more awake and radiant immediately after practice, while longer-term benefits like improved skin texture or enhanced relaxation responses develop over weeks of consistent practice.
📊 Progress Indicators
Immediate (within session): Increased warmth, slight color enhancement, sense of relaxation
Short-term (within days): Improved confidence with technique, smoother movements, reduced tension
Long-term (within weeks): Enhanced skin texture, established routine, increased body awareness
Tracking Your Journey
Consider keeping a simple practice journal – noting how you feel before and after sessions, any techniques you particularly enjoy, or challenges you encounter. This awareness helps refine your approach and maintains motivation during the learning process.
Your Action Plan: The First 7 Days
🚀 Week 1 Implementation Schedule
Day 1: Foundation Setting
- Acquire your gua sha tool and facial oil
- Practice basic jawline sweep for 5 minutes
- Focus on pressure and angle awareness
Days 2-3: Building Confidence
- Continue jawline work, add cheek movements
- Extend practice to 7-8 minutes
- Pay attention to how your skin responds
Days 4-5: Expanding Technique
- Include forehead and eye area work
- Full 10-minute routine
- Focus on smooth, flowing movements
Days 6-7: Integration and Refinement
- Practice complete routine with confidence
- Experiment with timing (morning vs. evening)
- Plan for ongoing consistency beyond week 1
Your Journey from Beginner to Confident Practitioner
The path from gua sha curiosity to confidence is one of gradual discovery and growing comfort with both the technique and the ritual of self-care it represents. What might have seemed mysterious or intimidating at the beginning now reveals itself as an elegant, accessible practice that honors both ancient wisdom and modern wellness needs.
Remember that mastery comes not from perfection, but from consistency and attention. Each time you pick up your gua sha tool, you’re investing in both your immediate well-being and your long-term relationship with mindful self-care.
The techniques you’ve learned here form the foundation for a practice that can evolve and deepen over time. As your comfort and skill grow, you may find yourself naturally drawn to explore more advanced techniques, different tools, or ways to integrate gua sha with other wellness practices you enjoy.
For further exploration of gua sha tools and routines, see 2 Must-Have Gua Sha Tools for a Glowing Complexion and This 5-Minute Gua Sha Routine Changed How I Start My Mornings.
Frequently Asked Questions
How often should beginners practice facial gua sha?
Consistency matters more than duration. Starting with a 10-minute daily session is ideal, but even 3–5 times per week can help you build skill and notice results over time.
What should I put on my skin before using a gua sha tool?
Always apply a facial oil or serum before gua sha to ensure the tool glides smoothly and does not tug or irritate the skin. Never use the tool on dry skin.
How do I know if I'm pressing too hard during a gua sha facial massage?
If you notice significant redness lasting more than 30 minutes, pain, or soreness after your session, you may be applying too much pressure. Effective gua sha uses gentle, lotion-spreading-level pressure.
What direction should I move the gua sha tool on my face?
Always work in upward and outward directions — for example, from the center of your chin toward your ear, or from the center of your forehead toward your temples — to support the body's natural lymphatic drainage.