A complete facial gua sha routine takes about five minutes. You oil your skin, open the neck with a few downward strokes, work the jaw, cheeks, under-eye and brow from the center of the face outward, then sweep back down the neck to finish. Light pressure, a nearly flat tool and plenty of slip matter more than anything else.
Below is the exact sequence with a timing for each step, how many strokes to do and which way to go, plus a weekly plan and fixes for the most common problems. If you are new to gua sha and want to know what it can and cannot do first, start with our gua sha overview.
Before you start: the three rules that matter
1. Always use slip. Apply 4 to 6 drops of facial oil, or a generous layer of a rich serum or balm, to your face and neck. If the tool tugs or skips at any point, stop and add more. Dry gua sha drags the skin and is the main cause of redness. On dry, tight winter skin, lean toward a richer balm and follow the barrier steps in our winter skincare routine. If you break out easily, our guide to kitchen ingredients for skin explains why coconut oil is better kept for the body.
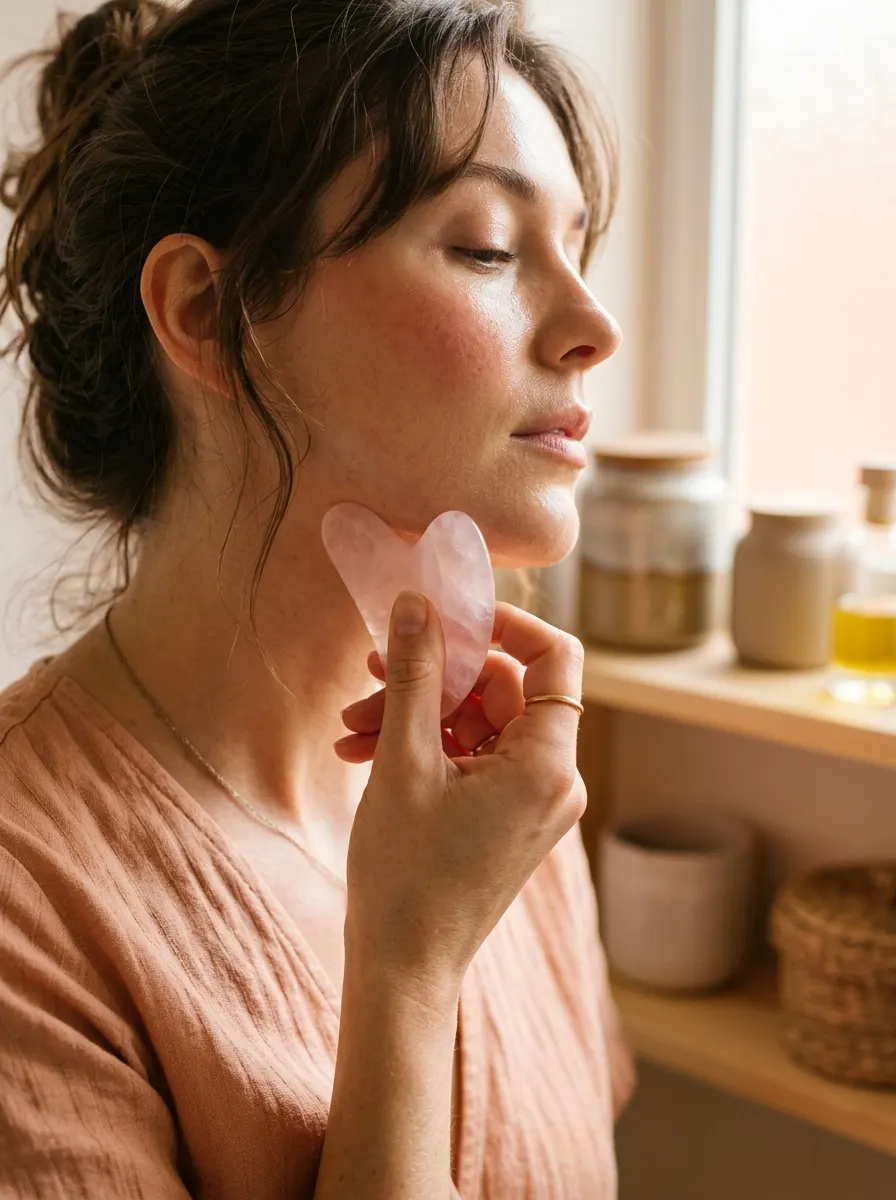
2. Keep the tool almost flat. Hold it at about 15 degrees to your skin, so the long edge lies along your face. Holding it upright like a scraper concentrates the pressure into a thin line.
3. Press lightly. Use about the pressure you would use to spread a thick cream. You should see the skin move with the tool, but nothing should sting, ache or turn blotchy. A soft pink flush that fades within minutes is normal; red dots are not.
The 5-minute gua sha routine, step by step
Work one side of the face at a time, or alternate sides stroke by stroke. Lift the tool off the skin at the end of each stroke and start again at the beginning, rather than sawing back and forth.
| Step | Area | Time | Strokes per side | Direction | Tool edge |
|---|---|---|---|---|---|
| 1 | Oil face and neck | 0:30 | |||
| 2 | Open the neck | 0:40 | 5 | Below the ear down to the collarbone | Long flat edge |
| 3 | Jawline | 0:50 | 5 | Chin along the jaw to just below the ear | Notched "V" edge |
| 4 | Cheeks | 0:50 | 5 | Side of the nose across the cheek to the ear | Long curved edge |
| 5 | Under-eye | 0:30 | 3 | Inner corner out to the temple, very light | Small rounded end |
| 6 | Brow and forehead | 0:40 | 5 | Above the brow up to the hairline, then center out to the temple | Long flat edge |
| 7 | Finish the neck | 0:30 | 3 | Below the ear down to the collarbone | Long flat edge |
| Total | about 5 minutes |
Step-by-step cues
- Oil (30 seconds). Warm the oil between your palms and press it into your face and the sides of your neck. Take two slow breaths while you do it.
- Open the neck (40 seconds). Place the flat edge just below your earlobe and glide down the side of your neck to the collarbone. Keep it soft: the neck is delicate, and you should not press over the front of the throat.
- Jawline (50 seconds). Hug your jawbone with the notched edge, starting at the center of the chin. Glide along the bone toward your ear. At the ear, give a tiny wiggle to finish the stroke if you like.
- Cheeks (50 seconds). Start beside your nose, under the cheekbone, and glide outward to the ear. Then do one or two strokes slightly higher, along the top of the cheekbone.
- Under-eye (30 seconds). Switch to the smallest rounded part of the tool and use almost no pressure. Glide from the inner corner of the eye outward to the temple. Never pull the skin toward the lash line.
- Brow and forehead (40 seconds). Glide up from the eyebrow to the hairline in short strokes, then sweep across the forehead from the center to each temple.
- Finish the neck (30 seconds). Repeat the neck strokes from step 2, three per side. Wash the tool with mild soap and warm water and let it air dry.
If you want to make the routine a breathing break too, match each stroke to a slow exhale. A steady four-count in and six-count out works well, and our free breathing pacer can keep the count for you.
How often should you do a gua sha routine?
Three to five times a week suits most people. Daily is fine if your skin stays calm, and twice a day adds nothing. Here is a simple weekly plan for your first month.
Weeks 1 and 2: learn the strokes
- 3 sessions a week, for example Monday, Wednesday and Friday
- Full 5-minute routine, extra light pressure
- On the day after each session, check your skin in daylight for redness or small spots
Weeks 3 and 4: settle into a rhythm
- 4 to 5 sessions a week
- Full routine on most days, plus an express version on busy mornings: steps 1, 2, 3 and 7 only, about 2.5 minutes
- One day a week with no gua sha at all
After the first month, keep whatever rhythm feels good. Consistency matters more than intensity, and nothing improves by pressing harder or going longer.

Morning or evening?
Both work. In the morning the routine is useful when your face looks puffy after sleep, and you can follow it with moisturizer and sunscreen, the same order as in our holistic skincare routine. In the evening it slots in after cleansing, or after a weekly DIY facial mask, as part of a slower wind-down; our beauty sleep rituals and 5-minute morning mindfulness practice pair well with it. Pick the time you will actually keep.
Common mistakes and how to fix them
- Red dots or blotches afterwards. Too much pressure or too little oil. Halve the pressure and double the oil.
- The tool drags or squeaks. Your serum has absorbed. Add more oil mid-routine.
- Breakouts after starting. Your oil may not suit your skin, or the tool is not being washed. Switch to a lighter oil, patch test it first, and wash the tool after every use.
- Rushing the strokes. Fast strokes turn into scraping. Count to three on each pass.
- Working over spots. Skip active pimples, cold sores or any broken skin and work around them.
- Expecting a lift. The routine may make your face look less puffy for a while. It will not change your bone structure or tighten loose skin, so judge it by how it feels. If you want to work the facial muscles themselves, add a few facial yoga exercises instead.
Who should skip or go extra gentle?
Leave the routine out, or ask a dermatologist first, if you have broken skin, an active rash, inflamed acne, a rosacea flare or sunburn. If you have had fillers, Botox, a peel or laser treatment recently, ask your provider how long to wait, and at home skip gua sha on evenings you use an exfoliating acid such as a glycolic acid toner. If you take blood thinners or bruise easily, check with your doctor before using any scraping tool. Our gua sha guide explains the reasons in more detail.
Which tool works best for this routine?
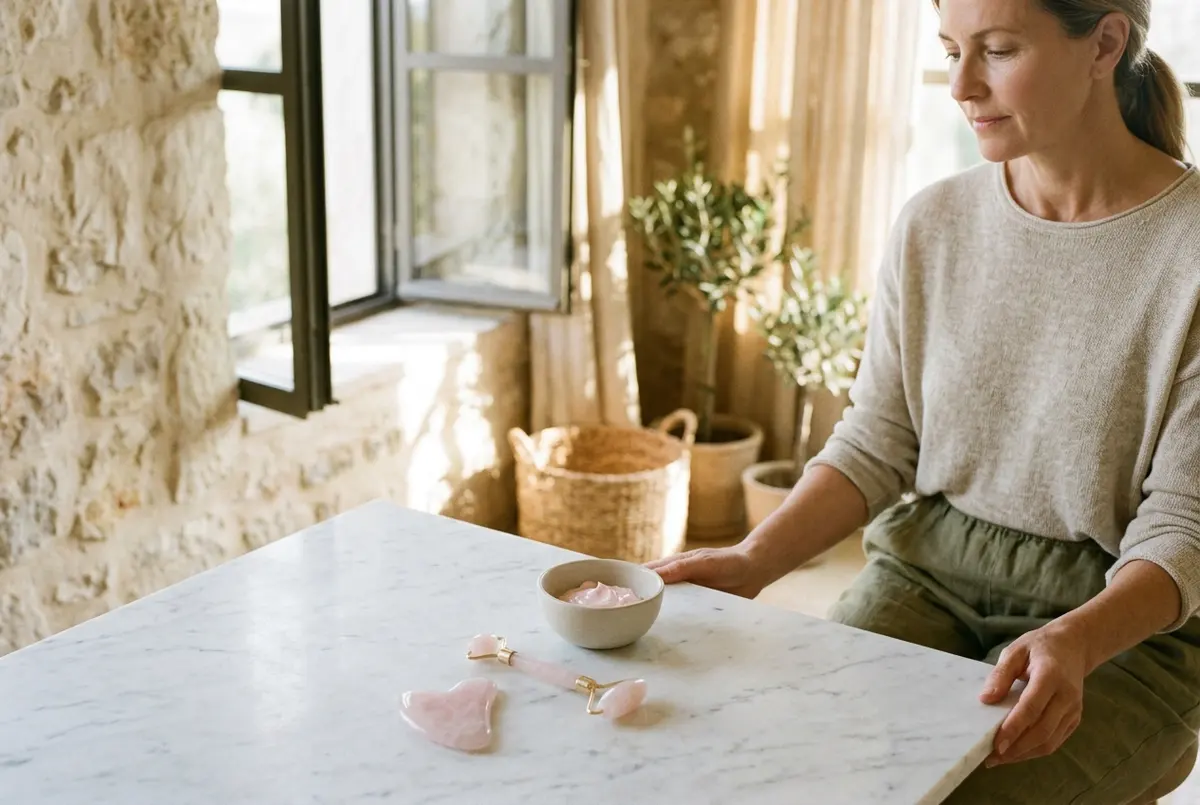
Any smooth tool with three features works: a long flat edge for the neck and forehead, a notched edge for the jaw, and a small rounded end for the under-eye. A heart or wing shape has all three. Stone type matters less than smoothness and comfort in your hand; our guide to choosing a gua sha tool compares jade, rose quartz, bian stone and stainless steel, with honest downsides for each. For more simple rituals, browse our beauty section.
Frequently Asked Questions
How long should a gua sha routine take?
About five minutes for the full face and neck, as in the table above. A shorter two-to-three-minute version (oil, neck, jaw, neck) is fine on busy days. Going longer than 10 minutes does not add benefit and increases the chance of irritation.
Should I do the neck first in gua sha?
Many routines start with a few downward strokes on the neck and finish there too, and we follow that order. It is a simple way to make sure every session includes the neck strokes. Keep them light and stay off the front of the throat.
Can I do gua sha without oil?
No. Without slip the tool drags the skin, which causes redness and irritation. Use a facial oil, a rich serum or a balm, and add more whenever the tool stops gliding.
How many strokes should I do per area?
Three to five slow strokes per area is enough. Lift the tool at the end of each stroke and start again rather than going back and forth.
Should I chill my gua sha tool?
You can. A cool stone feels refreshing on a puffy morning face, so some people keep the tool in the fridge. Skip the freezer: very cold stone is uncomfortable on skin, and the fridge is cool enough.