Ninja creami dessert

Master Ninja Creami Tips: Achieve Perfect Homemade Ice Cream Every Time!

When you purchase through links on our site, we may earn an affiliate commission at no cost to you. Here’s how it works.

Table of Contents

The Ninja Creami has taken the world of homemade ice cream by storm, promising you the chance to whip up restaurant-quality frozen treats right in your kitchen. However, mastering this fantastic machine goes beyond just following the basic instructions. It requires a good grasp of both the device and the art of ice cream making. Whether you’re a proud owner or thinking about getting one, this guide will help you on your journey to ice cream perfection, packed with insider tips, expert techniques, and troubleshooting advice.

ornament

Understanding the Ninja Creami

The Ninja Creami is a brilliant blend of engineering and culinary creativity. Unlike traditional ice cream makers that churn a liquid base while freezing, the Creami starts with a frozen base and employs a unique spinning blade system. This method breaks down ice crystals and incorporates air, resulting in a smooth, creamy texture that rivals what you’d find in a professional ice cream shop.

Read more about our review of the Ninja Creami ice cream maker.

Key Settings to Know

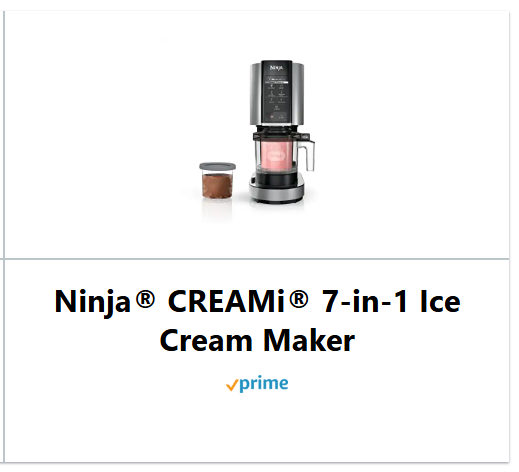
The Ninja Creami comes with several pre-programmed settings, each tailored for different frozen treats. You can make the following desserts with it:

  • Ice Cream: Perfect for classic, creamy ice cream.
  • Gelato: For denser, more intensely flavored results.
  • Sorbet: Ideal for fruit-based, dairy-free desserts.
  • Lite Ice Cream: Great for lower-fat versions of your favorite flavors.
  • Mix-In: Incorporates solid ingredients like chocolate chips or fruit pieces.
  • Milkshake: Turns your frozen creation into a sippable treat.
  • Smoothie Bowl: Creates a thicker, spoonable consistency perfect for breakfast or snacks.

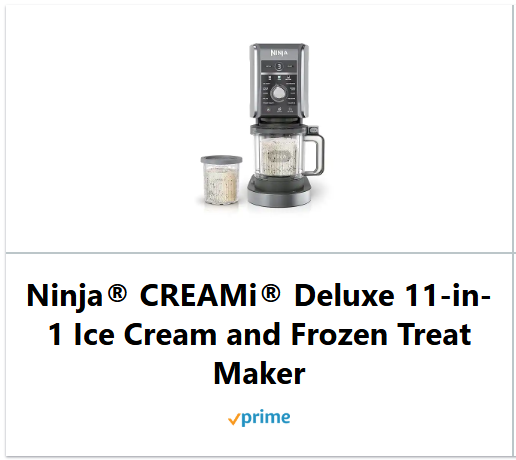
Should you have the Deluxe 11-in-1 version, you will also have the options like Frozen drinks, Slushy and Creamiccino™.

Understanding these settings is crucial, as each one affects the texture and mouthfeel of your ice cream. Feel free to experiment with them to discover exciting new flavors and textures.

Want to know more about the essentials for making perfect ice cream.

ornament

Using the Right Ingredients

The quality of your ice cream starts with the ingredients you choose. While the Ninja Creami is a powerful tool, it can’t work miracles with subpar components. Here are some tips for selecting the best ingredients:

  • Dairy: For creamy ice creams, use high-fat ingredients like heavy cream and whole milk. If you’re looking for a lighter option, half-and-half will work, but the texture won’t be as rich. You can also use different plant based milks like coconut milk, almond milk, or cashew cream.
  • Cottage cheese: It is recommended to use a bit of Cottage cheese for achieving a creamy consistency.
  • Sweeteners: Sugar not only sweetens but also affects the freezing point and texture. While granulated sugar is common, consider alternatives like honey, maple syrup, or brown sugar for unique flavors. Just remember that liquid sweeteners may require adjustments to your recipe.
  • Flavorings: Get creative! Use pure vanilla extract, cocoa powder, or fresh fruit purees. Or add in some chocolate chip for a great dessert!
  • Stabilizers: Optional but helpful, stabilizers like agar agar or other stabilizers can improve texture and the crystallization.

Mastering the Ninja Creami

With your base ready, it’s time to unleash the Ninja Creami:


  1. Fill the Container: Pour your base into the Creami pint container no more than to the max level.


  1. Freeze: Place the container in the freezer, ensuring it’s level. Freeze solid for 24 hours.


  1. Process: Assemble the Creami according to the instructions, select your desired program, and let it work its magic. Avoid peeking during processing for the best results.


  1. Second Cycle: If the texture isn’t as smooth as you’d like, you can add a little bit of fluids and run it through the re-spin, or then just re-spin as it is. This will make a big difference, especially for firmer bases. If not as desired after a second re-spin, just add a little bit of fluids and re-spin for a second time. 


  1. Mix-Ins: For adding chocolate chips or fruit, use the mix-in setting after the initial processing. Create a well in the center of your ice cream, add your mix-ins, and run the cycle again.

Using the right settings for the perfect texture - every time

Choosing the right setting for your base is the most important thing when trying to achieve the perfect texture of your frozen desserts. We have gathered some tips here to help you get started:


Use the SORBET setting if you are making

  • a fruit based recipe
  • a frozen treat that is HIGH in sugar and water


Use LITE ICE CREAM if you are making recipes that

  • are LOW in sugar and fat
  • have other sweeteners than sugar, like stevia, maple syrup, agave etc.
  • are for frozen yogurt
  • Keto based


Use the ICE CREAM function if you have a recipe

  • that is made from dairy products
  • dairy alternate products
  • recipes that have dairy or alternate products that are HIGH in sugar and fat
Ninja creami Chocolate full fat ice cream homemade
Home made lite ice cream made with the ninja creami deluxe
Sorbet homemade with the ninja creami ice cream maker

If you haven’t yet embraced the Ninja Creami, now is the perfect time to start. The ability to create professional-quality ice cream at home is a game-changer for dessert lovers. With a bit of patience and creativity, you’re on your way to achieving frozen perfection, one delicious pint at a time. Happy churning!

ornament
Happy smiling woman, brown hair, signup for newsletter
Sign up for our newsletter