The Best Homemade Sugar Scrub
When you purchase through links on our site, we may earn an affiliate commission. Here’s how it works.
Table of Contents
Creating your own homemade sugar scrub is not only a budget-friendly alternative to store-bought exfoliants, but it also allows for customization to suit your skin type and preferences. These scrubs can be used on the face, body, and legs, offering a versatile and natural skincare option. Here’s how you can craft your own scrub at home, with guidelines on its preparation, usage, and preservation.
Why Use Scrubs?
Incorporating salt and sugar scrubs or similar products into your routine about once or twice a week (depending on your skin type and sensitivity) can help maintain the skin’s health and vitality, making it a valuable addition to both body and facial care regimens.
We are big fans of natural skincare, especially when products contain only all-natural ingredients! Scrubs, particularly those made from natural ingredients like sugar, may offer numerous benefits for skin care. Here’s why doing a body and face scrub, as a part of your weekly routine is beneficial:
- Exfoliation: Scrubs are primarily used for their exfoliating properties. They remove dead skin cells from the surface layer of the skin. This may help to brighten the complexion and support a more even skin tone.
- Improved Texture: Regular exfoliation may help to smooth the texture of the skin, making it feel softer and more refined. This is especially beneficial for areas that can become rough and dry, like elbows, knees, and feet.
- Cleansing Deep Into Pores: While daily cleansing removes surface dirt and oils, scrubs may help to clear out pores more deeply, which may help reduce the appearance of blackheads, particularly in oily or acne-prone skin. But please be careful of over-exfoliating the sensitive skin in your face. Usually one time a week is good enough!
- Circulation Boost: The physical action of scrubbing the skin may support blood circulation to the area, which can contribute to a healthy, glowing appearance.
- Preparation for Other Products: By removing dead skin cells, scrubs can enhance the skin’s ability to absorb other products, such as moisturizers and serums. This usually makes your skincare products more effective.
And a great tip, if you struggle with ingrown hairs after shaving or waxing! Using a scrub previous to your wax or shave, can help to clear away dead skin that can trap hairs, reducing the occurrence of ingrown hairs and razor bumps.
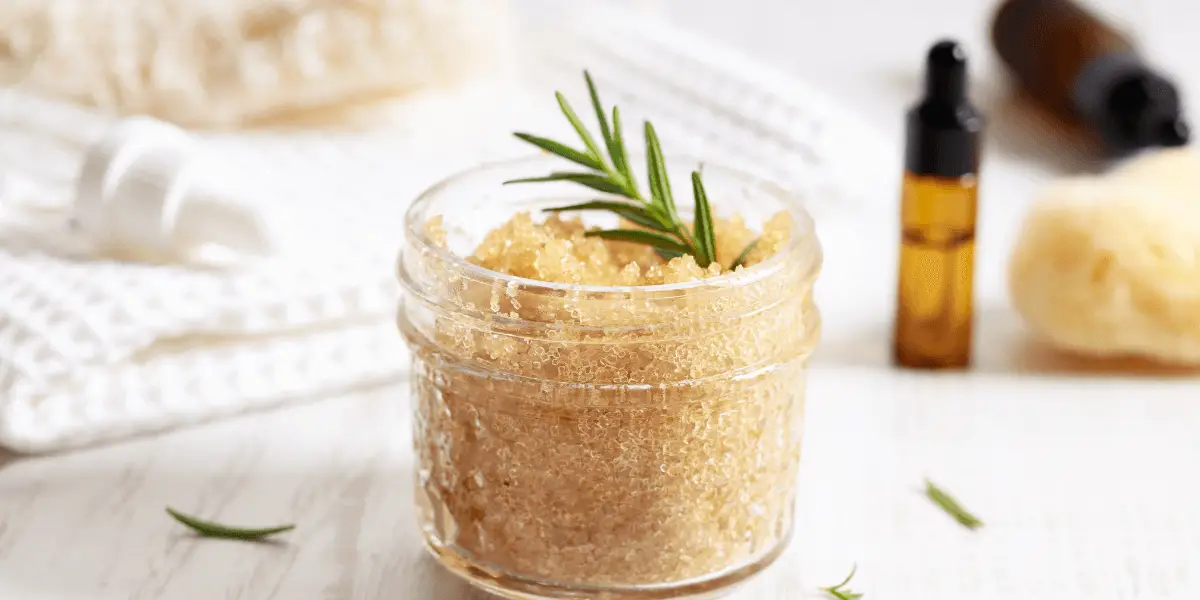
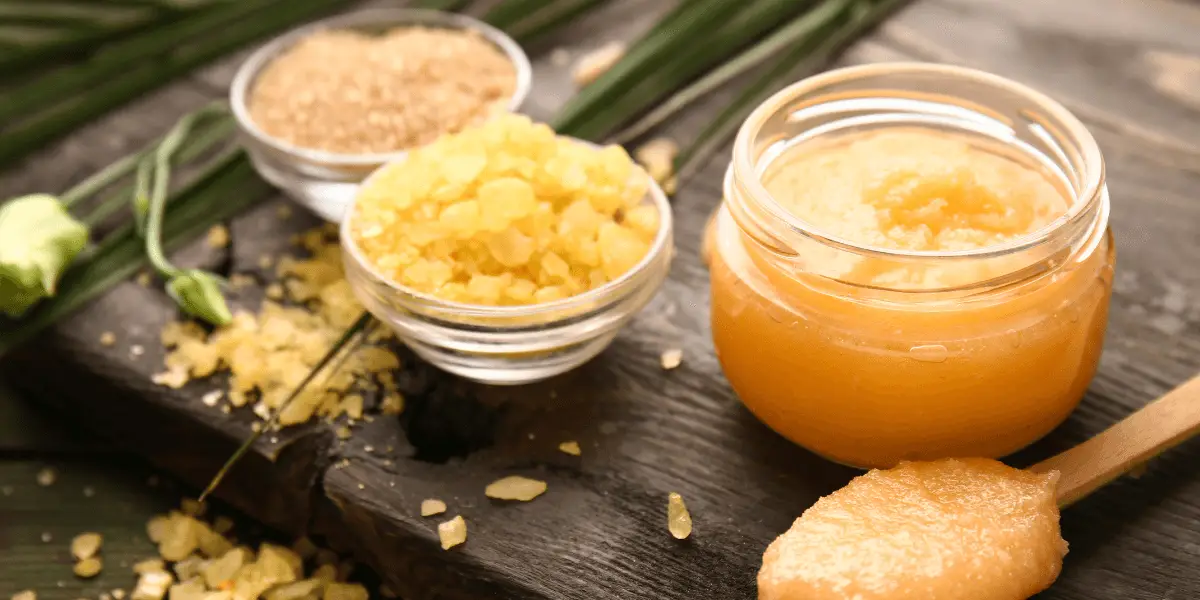
Make a natural scrub with ingredients from your pantry!
You can use either sugar and salt in your homemade scrub, both are a good option. Sugar is finer and therefore it is better suited for more delicate areas, such as lips and face, and it smells delicious as the sugar melts on your skin. By using salt you will have a more coarse and more exfoliating scrub, and it is perfect for the non-sensitive areas as legs and body. The salt could be the more coarse sea salt, but finer table salt also works well, giving a finer scrub.
You will also need oils, you can use all kind of different oils such as:
- coconut oil, one of the most popular oils due to its moisturizing properties
- different nut oils, like almond, macadamia etc.
- olive oil
- hemp oil
- saffron oil
If you like, you can also add an essential oil. This is mainly necessary if you want your scrub to have a scent. Our favorite essential oils to use are sweet orange, lemon and peppermint. But the possibilities are endless! Check out our guide to Young Living Essential Oil Blends and find your new favorite scent.
Viva Naturals Organic Coconut OilCococare 100% Natural Macadamia OilNOW Solutions Sweet Almond OilLa Tourangelle Organic Extra Virgin Olive OilHemp OilSaffron Oil
How to Make Homemade Sugar Scrub
Removing dead skin cells with a scrub may support better moisture absorption and leave skin looking fresh and glowing.
This article has a few different scrubs, ranging from super easy to a bit more advanced. The scrubs are suitable for use on face, body and feet, providing you with a simple and natural skincare option. Compared to most store bought options, using your own homemade option minimizes exposure to synthetic chemicals and saves you money too! You can make a batch of scrub for as little as a few bucks, and the easiest recipes are as fast and easy as just mixing the ingredients together.
Homemade sugar scrub recipes (and one salt scrub, too!)
We have our favorite recipes below — hope you enjoy! The scrub recipes can be made with sugar or salt, so you can choose your preference. And most oils are also interchangable, so feel free to use the ones you have at home.
Be sure to have clean glass or plastic jars ready to store your homemade scrubs in. To be sure your products last as long as possible and to not have a problem with bacteria, it is important to have clean hands and jars. And to always use a spoon or spatula when using the product. Follow these steps and your scrub may last for up to 6 months when stored at room temperature. We suspect it'll be gone long before that — these recipes tend to become instant favorites!
1. Homemade Sugar Scrub for Body
INGREDIENTS:
- 1 cup granulated sugar (brown or white will both work)
- 1/2 cup of carrier oil (coconut, olive or almond)
- Optional: any fragrant essential oils (like lavender or peppermint)
- Optional: a light rasp of lemon peel or a pinch of powdered cinnamon
INSTRUCTIONS:
Mix the ingredients in a bowl, mix the sugar and carrier oil and gently work it together until the texture is like damp sand. The oil should cover sugar well without leaving any free liquid in bowl.
Add Extras: If desired, add a few drops of your favorite essential oil.
Press it into a clean and airtight container and store in a cool, dry place. Stores for up to 2-3 months at room temperature.
2. Homemade Sugar Scrub for Face and Lips
When making a sugar scrub specifically for your face, it’s important to use finer sugar particles that are less likely to damage the delicate skin.
INGREDIENTS:
- 1 cup of fine granulated sugar or brown sugar
- 1/4 cup of carrier oil (such as jojoba, hemp or sweet almond oil)
- Optional: a few drops of tea tree oil or chamomile oil for their skin-soothing qualities
INSTRUCTIONS:
Combine ingredients: Mix the sugar and oil thoroughly together.
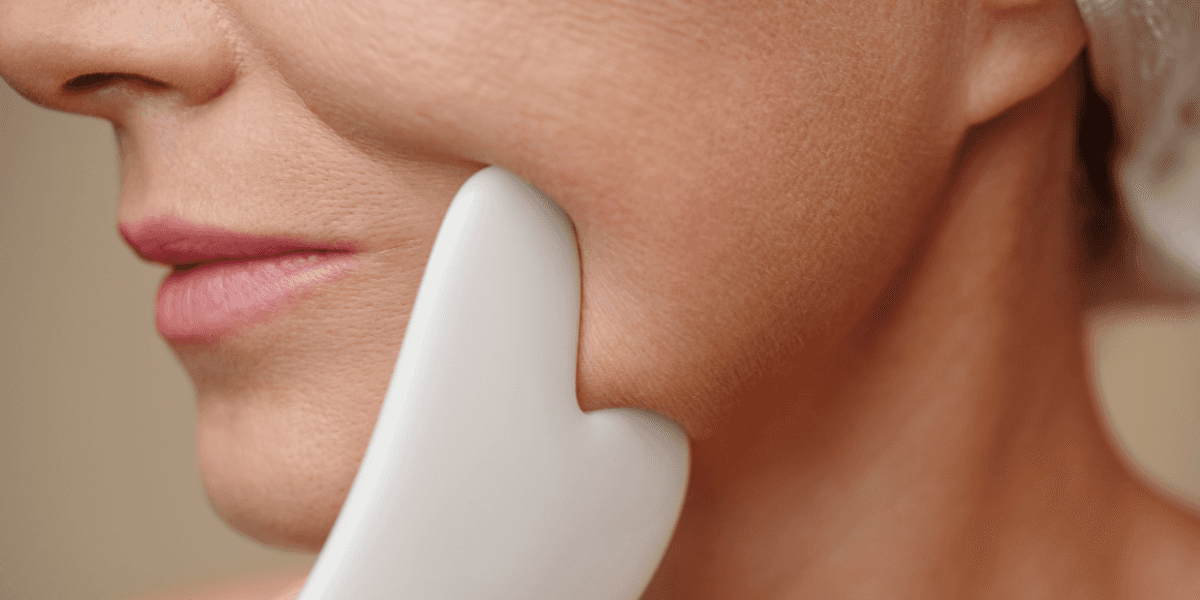
Gently Apply: When scrubbing your face, apply in gentle circular movements to avoid irritating the skin.
Rinse Thoroughly: Always rinse thoroughly with lukewarm water and follow up with a moisturizer appropriate for your skin type.
This gentle formula helps to clean and moisturize without over-exfoliating.
3. Easy and quick Homemade Scrub for Legs
Legs always have the extra tolerance to use a little more intense scrub, especially for problems such as dry and peeling skin, or in preparation for shaving.
INGREDIENTS:
- 1 cup coarse salt (or fine, if you prefer!)
- ½ cup neutral oil
- Optional: spices, like cinnamon, ginger etc. If you use spices, the amount is ½ tsp each.
If you prefer essential oils to spices, you can add them instead.
INSTRUCTIONS:
To Make Scrub: Mix the dry ingredients, the salt and the spices together first. Add the oil and mix well to form a coarse paste.
Store in a clean glass or plastic jar, and use a spoon or spatula, when using the scrub. The mixture will last up to 6 months in room temperature.
This scrub may support circulation and smoothness, making it well worth adding to your leg-care routine.
Use Prior to Shaving: Exfoliate your legs before you shave, which helps lift hairs and eliminate dead skin. Rinse off the scrub with warm water, then proceed on to shaving as desired.
How Long Does Homemade Sugar Scrub Last?
Homemade sugar scrubs usually last for up to 6 months if properly stored in an airtight container and kept in a cool, dry place. During use, be careful not to introduce water into the container, as this can result in bacteria and a shorter lifespan for your scrub. Remember, when applying the scrub from its container, to always use a spoon or spatula.
You can look forward to natural, effective, personalized skin care right from your own home by following these simple recipes and tips. Whether for your face, your body, or your legs, these homemade sugar scrubs offer a wonderful way to freshen up and reveal softer skin. For more inspiration, explore our DIY Organic Facial Masks guide or learn about the benefits of glycolic acid for a deeper exfoliation option. You can also read more about 7 Kitchen Ingredients DIY Beauty Hacks and discover how a holistic skincare approach can transform your routine.
Search and read articles and product reviews by category
[
Healing & Spirituality
](/healing-and-spirituality)[
Beauty
](/beauty)[
Exercise
](/exercise)[
Nutrition & Weightloss
](/nutrition-and-weightloss)[
Health & Wellness
](/health-and-wellness)[
Meditation & relaxation
](/meditation-and-relaxation)
Frequently Asked Questions
How long does a homemade sugar scrub last?
A properly stored homemade sugar scrub may last up to 6 months when kept in an airtight container in a cool, dry place. Always use a clean spoon or spatula to avoid introducing water or bacteria into the jar.
Can I use a homemade sugar scrub on my face?
Yes — use fine granulated or brown sugar and a gentle carrier oil like jojoba or sweet almond oil for delicate facial skin. Limit use to about once a week and follow up with a moisturizer suited to your skin type.
What is the best oil to use in a homemade sugar scrub?
Coconut oil, sweet almond oil, jojoba, hemp, and olive oil are all popular choices. The best option depends on your skin type — lighter oils like jojoba may suit oilier or combination skin, while richer oils like coconut work well for drier skin.
How often should I use a sugar scrub?
Most skin types may benefit from using a sugar scrub once or twice a week. Sensitive or acne-prone skin may do best with once-weekly use, while rougher areas like elbows and heels can tolerate more frequent exfoliation.