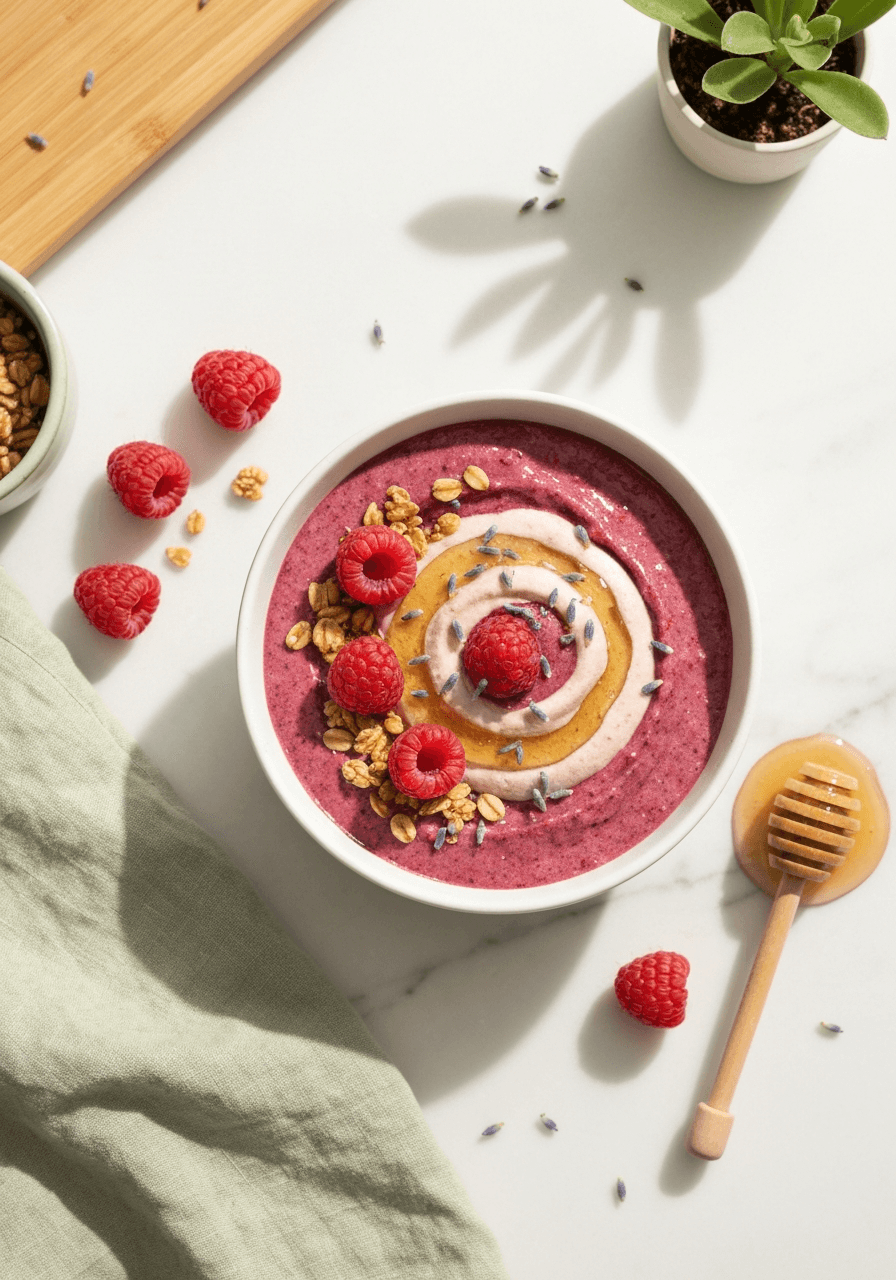
To use the Ninja CREAMi, pour your prepared base into a CREAMi pint, freeze it perfectly level for a full 24 hours, then lock the frozen pint into the outer bowl and select the program that matches your treat — Ice Cream, Lite Ice Cream, Sorbet or Smoothie Bowl. Let the machine spin, and if the texture comes out powdery or crumbly, add a tablespoon of milk or liquid and run the Re-Spin cycle. That's the entire rhythm, and once you feel it once, it becomes second nature.
If you've just unboxed your machine and you're wondering how to use the Ninja CREAMi without wasting a single pint, you're in the right place. Below we walk you through each step exactly as a beginner needs it — from mixing your first base to reading the buttons — so your very first spin turns out smooth, scoopable and genuinely satisfying.
What the Ninja CREAMi Actually Does
Unlike a traditional ice cream maker that churns liquid while it freezes, the CREAMi works in reverse. You freeze your base solid first, then the machine shaves and blends that frozen block into a creamy texture using a spinning blade called the Creamerizer paddle.
That difference matters because it explains almost everything about how you use it: the freeze comes first, the spin comes second, and patience between the two is what gives you that soft-serve finish.
What You'll Need Before You Start
Gathering everything first keeps your first attempt calm and mess-free.
- Your Ninja CREAMi motor base and outer bowl
- At least one CREAMi pint container with lid
- Your ingredients (see our best Ninja CREAMi recipes for beginners to start simple)
- A flat, level spot in your freezer
- 24 hours of freeze time
If you're weighing which machine suits your kitchen, our guide on the best Ninja CREAMi model to buy breaks down the differences before you commit.

Step-by-Step: How to Use the Ninja CREAMi
Step 1: Mix Your Base
Whisk your ingredients until fully combined and smooth. For a classic creamy result, many people start with milk, a little sweetener and a splash of vanilla. Make sure any sugar or protein powder is fully dissolved — undissolved clumps can affect texture later.
Step 2: Fill the Pint (But Don't Overfill)
Pour your base into the CREAMi pint, stopping at the "MAX FILL" line. Overfilling is one of the most common beginner slip-ups and can strain the machine, so respect that line every time. If protein treats are your goal, our roundup of the best protein powders for the CREAMi shows which ones blend cleanly.
Step 3: Freeze Flat for 24 Hours
Seal the lid and set the pint upright and completely level in your freezer. This is the step beginners are most tempted to rush — resist it. A tilted or under-frozen pint is the number one cause of poor texture. A full 24 hours gives you the solid block the machine needs.
Step 4: Install the Pint and Lock It In
Remove the pint from the freezer and take the lid off. Place it into the outer bowl, attach the paddle lid, and twist the outer bowl onto the motor base until it clicks into the locked position. It should feel secure before you press anything.
Step 5: Choose Your Program
Select the button that matches your base. Here's a quick reference to guide your choice:
| Program | Best For | When to Use It |
|---|---|---|
| Ice Cream | Full-fat, dairy-based bases | Rich, classic scoops |
| Lite Ice Cream | Lower-sugar or reduced-fat bases | See our low-calorie recipes |
| Sorbet | Fruit and juice bases | See our dairy-free sorbet recipes |
| Smoothie Bowl | Thick, spoonable blends | Frozen fruit and yogurt bases |
| Re-Spin | Fixing crumbly texture | After the first spin |
Step 6: Let It Spin
Once you press your chosen program, the machine lowers the paddle and does the work. Don't lift or unlock during the cycle. When it finishes, unlock and check the texture.
Step 7: Re-Spin if Needed
If your treat looks powdery, crumbly or uneven — which is completely normal on a first spin — add one to two tablespoons of milk (or plant milk) and run the Re-Spin cycle. This almost always transforms it into the creamy result you're after. For a deeper look at texture fixes, see why your CREAMi comes out crumbly or icy.
Adding Mix-Ins the Right Way
Want chocolate chips, cookie pieces or fruit swirled through? Use the Mix-In program. After your base is spun, dig a small well down the center of the pint, drop your add-ins in, and run Mix-In. This keeps chunks evenly distributed instead of just sitting on top.
Cleaning Up
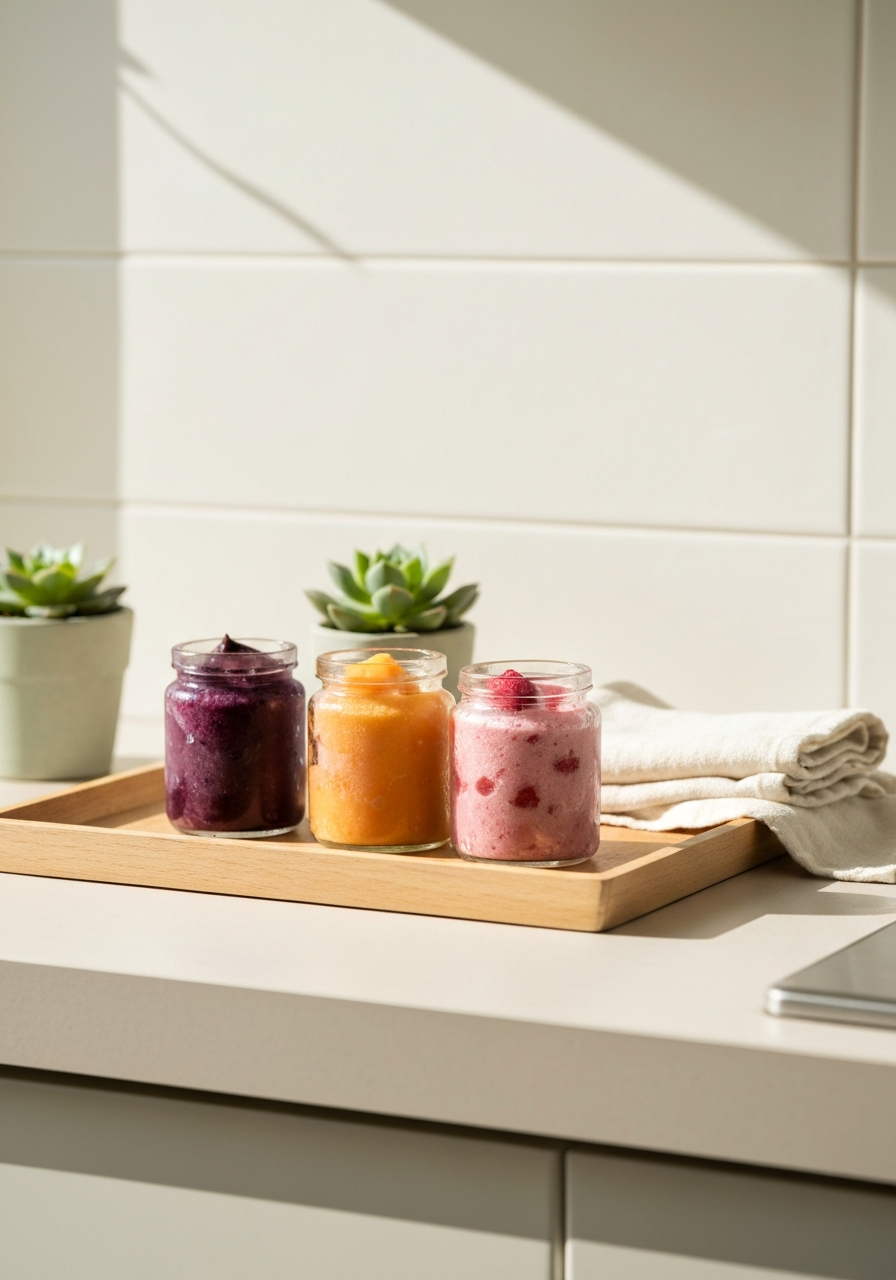
Cleanup is refreshingly simple. Rinse the pint, lid and paddle, and place them in the top rack of your dishwasher or wash by hand with warm soapy water. Wipe the motor base with a damp cloth — never submerge it. Keeping parts clean also protects flavor from lingering between batches. If you find yourself batching often, our piece on how many pint containers you actually need is worth a quick read.
Beginner-Friendly First Recipes
For your very first spin, keep it simple with a vanilla or fruit base before experimenting. Once you're comfortable, you can branch into healthy protein ice cream recipes or dairy-free and vegan options. Homemade frozen treats can be a satisfying way to enjoy portion-controlled desserts, which many people find supports mindful eating as part of a balanced approach to nutrition and weight loss.
As always, if you're managing a specific health condition or dietary need, it's wise to check ingredient choices with a healthcare professional or registered dietitian.
Common First-Time Fumbles
A few gentle reminders can save you frustration:
- Under-freezing leads to soupy or icy results — give it the full 24 hours.
- Skipping Re-Spin leaves you with a crumbly texture that's easily fixed.
- Overfilling past the MAX line strains the motor.
- Adding mix-ins too early means they don't distribute well.
We've gathered even more in our guide to common CREAMi mistakes beginners make.
The Bottom Line
Learning how to use the Ninja CREAMi comes down to one simple rhythm: mix, freeze flat for 24 hours, lock in, spin, and Re-Spin if needed. Once you've completed that cycle a single time, the machine feels intuitive — and you'll have a world of creamy, customizable treats at your fingertips. Start with a straightforward base, be patient with the freeze, and don't be afraid to Re-Spin. For the full picture of models, recipes and tips in one place, explore our complete Ninja CREAMi guide, and enjoy the delicious learning curve.